How to Wrap a Gift

It’s high time I did a simple tutorial on how to wrap a gift.  Never waste another inch of gift wrap, and never again cry out “Why God, WHY?!” when all your efforts still end up looking like you pulled an old lunch bag out of a garbage can and wrote your best friend’s name on it.

So here goes.

How to wrap a gift: A photo tutorial

How to wrap a gift

Ingredients:

  • wrapping paper
  • ribbon
  • scissors
  • tape (or glue if you want to look extra fancy)
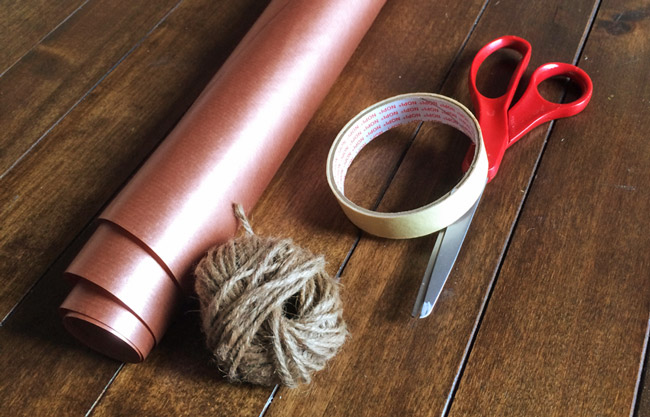
Wrapping a gift : A dummy's guide

Step 1: Measure your gift wrap

This is actually pretty simple once you get it, but bear with me through the explanation.  If my explanation doesn’t float your boat, you can try another version here (but there are fewer pictures).

Take your gift box or gift item, and put it in one corner of your wrapping paper.

Wrapping a gift : A simple guide

Roll it along the bottom edge of the gift wrap, until you’ve rolled every side (e.g. if it’s a box, roll all four sides along.)  Add about a centimeter, and draw a line—this is where your first cut will be.

Wrapping a gift : A simple guide

IMG_6672

Pick up the box and put it face-up where you stopped, so the edge is at the line you drew. Roll it ONCE up the other direction of the paper.  So only two of the sides have been rolled (or if it’s not a box, HALF of the gift).Add about a centimeter, draw a line—and this is your second cut.
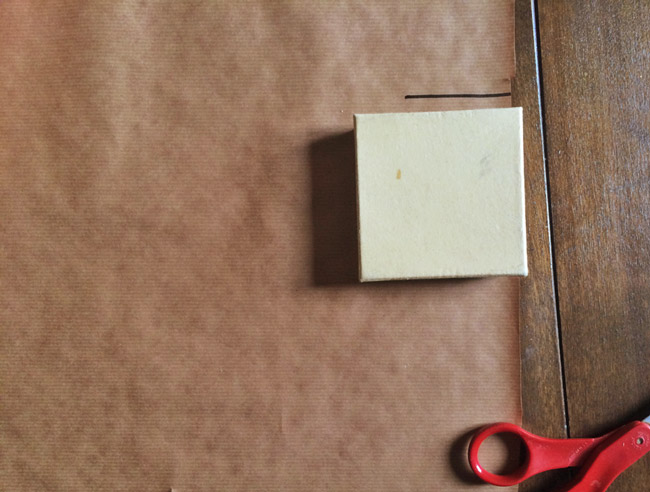
How to wrap a gift tutorial

IMG_6684

That’s it.  Cut the paper along the lines.  It should be perfect.
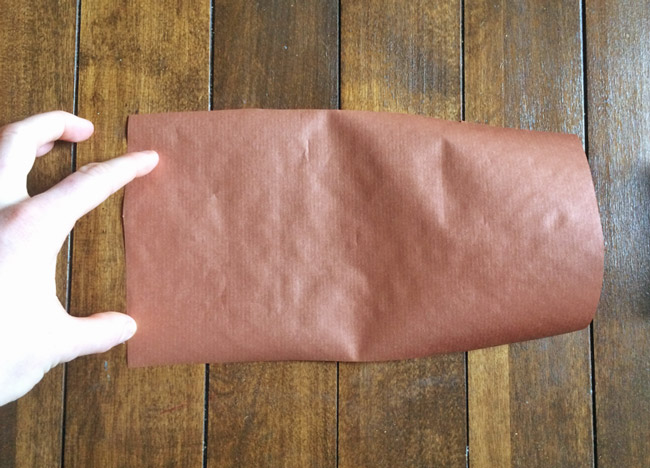
How to wrap a gift tutorial

Step 2: Fold & tape

Put your gift upside-down in the center of your paper.

How to gift wrap : A step by step guide

Take the longest sides and bring them together, so one overlaps the other. Make sure they meet in the middle of one of the sides.  Tape here.  If you’re fancy, dab a bit of glue under the top piece and hold it to the bottom piece until it dries.   This way you’ll have no ugly tape.

How to gift wrap : A step by step guide

Now we do the sides—the trickiest part of wrapping a gift.  With the pieces that stick out over the end of your gift, you want to fold in the sides.  IMPORTANT:  Make sure you don’t push the box down through the paper—you need the same amount of space on the other side.

How to gift wrap : A step by step guide

You should start with the side that has the overlapping pieces.  Fold it flush onto the box.

How to gift wrap : A step by step guide

The best way to make them stay put is to crease up the edges of the adjacent sides once you have folded the first one down.  Next, fold down the two adjacent sides, and the final side down on top.

How to wrap a Christmas gift

Tape or glue it down, and do the same on the opposite side.  I did one side tape and one with glue so you can see how it can make a difference to the look.
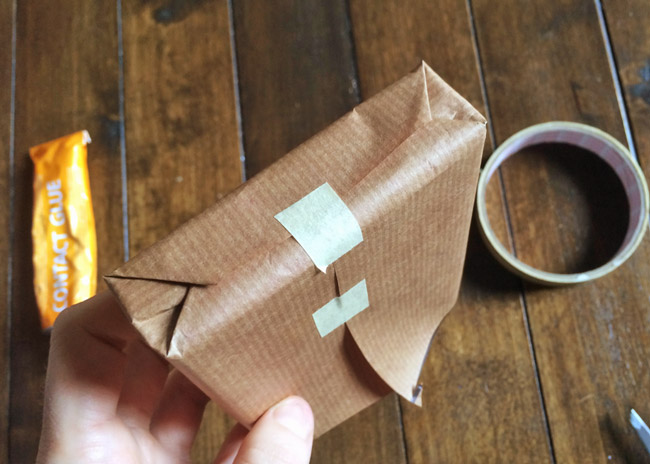
Gift wrapping tutorial How to wrap a Christmas gift

Congrats—the hard part of wrapping a gift is done!


Step 3: Ribbon

To cut the ribbon to the right length—it should be the circumference of the box one way + the circumference the other way, plus 4-6 inches for the bow part (bigger if your box is quite big).  So if you put your box at the end of the ribbon, and roll it along it until all four sides have touched—then turn the box the other way and roll it the other way, then add 4-6 inches.  OR you can always just cut it super long and then trim at the end.

Find the middle of your ribbon.  Put the box onto your ribbon in the center, with the overlap-side (the bottom) facing up.

How to measure gift wrap

Pull the ribbon up the sides of the box (doesn’t matter which sides), until they meet at the top.

How to measure gift wrap

Twist them around each other.

How to measure gift wrap

Flip the box over.  Pull the ribbon up the other two sides until they meet at the top of your box.

Wrapping a present tutorial

Tie a bow—like you’d tie your shoelaces.
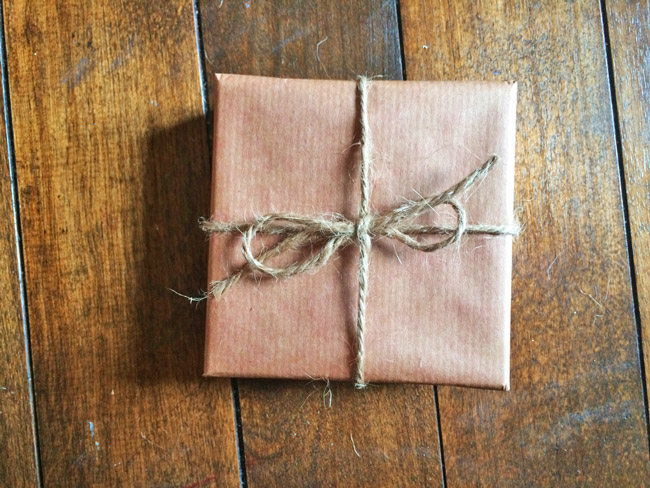
Wrapping a present tutorial

Step 4 (Optional): Embellish!

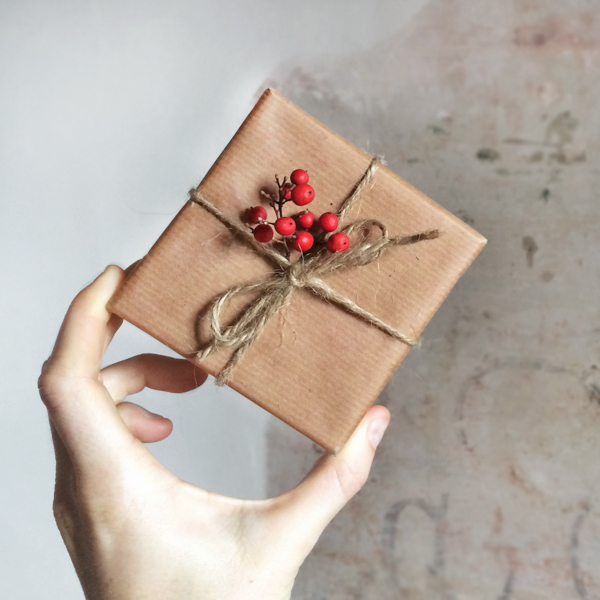
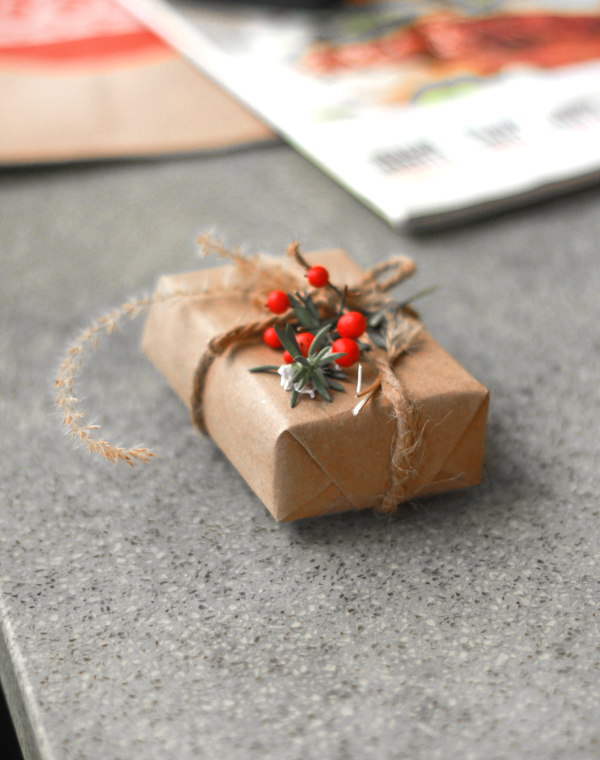
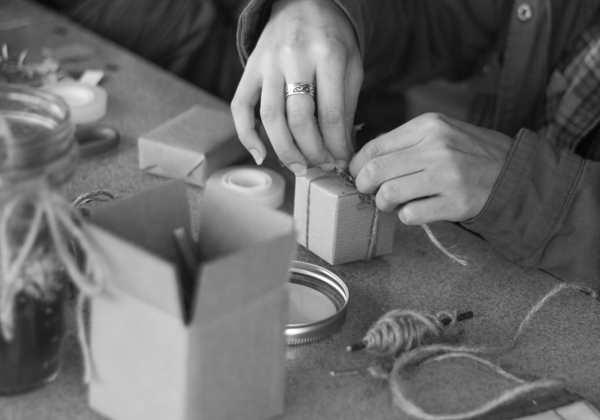
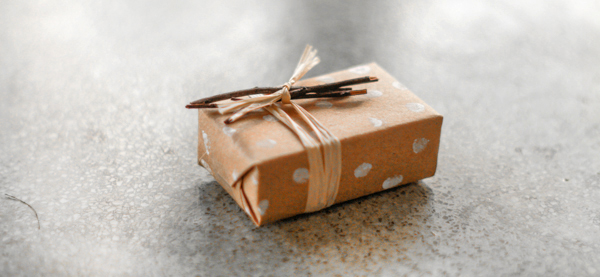
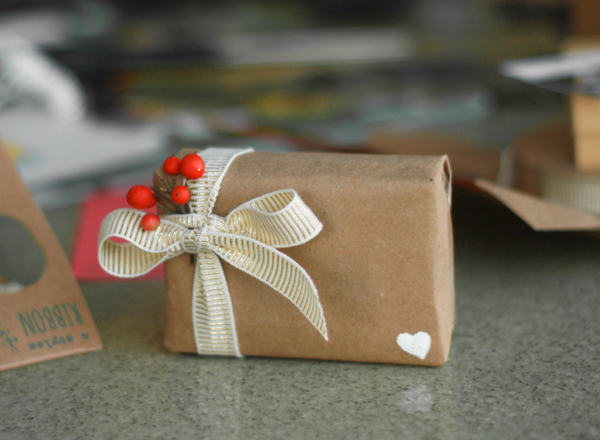
I like to add a little twig, or leaf, or something to make it a little extra fancy.  I got these berries from outside—they are plentiful in winter, which sorta makes this also a tutorial for how to wrap a christmas gift.

How to wrap a gift (and specifically, how to wrap a christmas gift!)

Check out some of my other posts on embellishments:  Recycled Gift Wrap DIY and Natural Gift Wrapping DIY .


…and that’s it!  I hope this helped with your christmas gift wrapping, or gift wrapping for any occasion!

Recycled Gift Wrap DIY – Or, Gift Wrapping Handmade Products

I’m not sure when it happened, but at some point in my life I became nutty about cute gift wrapping. Combine that with an eternal love of crafting, upcycling, and generally being thrifty….and you have the perfect storm.

Part of my job here at Fair Ivy is to ensure that the gifts sent to our monthly surprise subscribers are wrapped in a cute and unique way.  We know that a good chunk of the experience of getting a monthly surprise package is the actual unwrapping event—so the gift wrap is definitely an important part!  However, a lot of our new favorite artists are facing gift wrapping handmade products for the first time, and it can seem like a daunting task.

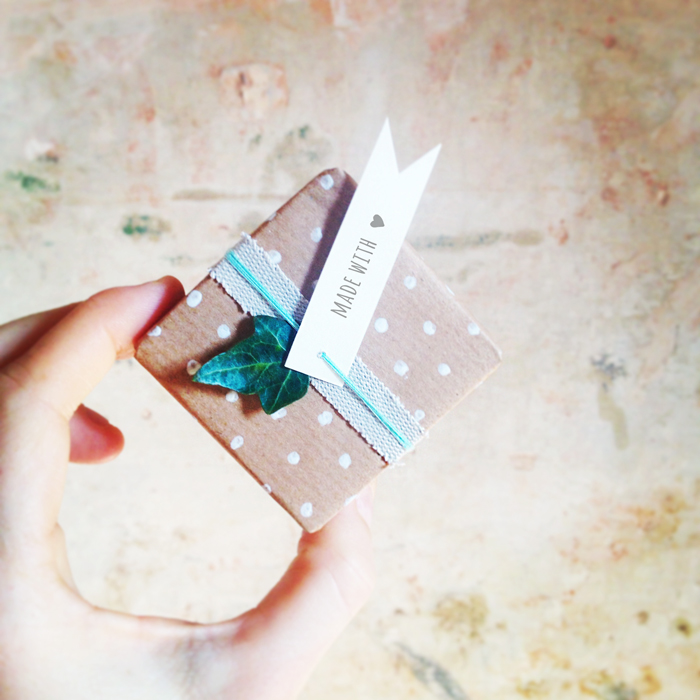
But over the years, the great thing I’ve realized about gift wrapping is that the more mis-mashed, recycled, and made-up it is, the cuter and more personal it looks.  Take the image below for example:

Recycled Gift Wrap DIY - Or, Gift Wrapping Handmade Products

To make this, I started with the inside of a brown paper grocery bag.  I found a piece of random scrap fabric and cut a strip, and used 5 pieces of blue/green string to go on top of it.  I made the little white dots with paint, and plucked a small leaf from a plant outside.  The tag I just cut out of a scrap of paper I rescued from my recycling bin.

I spent nothing on the wrapping whatsoever, yet it looks a lot more adorable than your generic wrapping paper job.  It also feels a lot more like it contains some kind of quirky artisan bath product or handmade jewelry—in other words, it looks thoughtful.  It took about 10 minutes, but most of that time was waiting for the white paint to dry.

Wouldn’t you squeal with delight if you received that as a gift from a friend?  They probably would think it was wrapped by a fancy store, rather than recycled gift wrap from your own home!

Recycled Gift Wrap – A super straightforward DIY

So, using recycled gift wrap is a great way to gift wrap handmade products if you have a store (like on Etsy), or if you just want your personal gift to have an extra thoughtful vibe.  There are a thousand ways to do something like this, but I’m going to do the absolute simplest version I can come up with—in the hopefully unlikely scenario that you are at home and literally have no crafting materials like ribbon or paint or even gardeners twine.  In my opinion, it isn’t the absolute cutest way you could wrap something—but it takes a very bare-bones approach if you have no materials.

This style is best suited for a smaller gift, like jewelry.

Recycled Gift Wrap - Easy gift wrapping ideas

Materials:

  • Brown paper (e.g. grocery bag)
  • White paper strip
  • Pen
  • Some sort of a piece of a plant—flowers, leaves, dead twigs
  • Tape or glue

photo-2

With your pen, create all kinds of linear floopity patterns (that’s a Lucy-ism) on the brown paper.  You can really do anything, but if you know of something in particular that your gift recipient likes, include a line of some of those—like cats, for example.  I included a line in cursive that says “Happy Birthday Sarah!”, since this gift is going to Sarah for her birthday.

photo-3

photo-4

This took a few minutes.  Wrap it on up using tape or glue.  I like the pattern to go diagonally across the box, but if you’re more of the straight-laced-variety, you can align it.

photo-5

Add a white strip of paper around the thinner part of the box, and then a smaller strip of the same brown paper on top of that. Slip your plant piece underneath—and you’re done!

Recycled Gift Wrap - Easy gift wrapping ideas

Recycled Gift Wrap DIY - Easy gift wrapping ideas

I hope you give it a shot—if so, tag a picture on Instagram or Twitter (@fairivy #HandmadeGiftWrap).  You could probably even create this from random papers sitting in your car, if you’re seriously having a last-minute panic—I may give that a shot next and see what happens!

Anywho, wrap on!

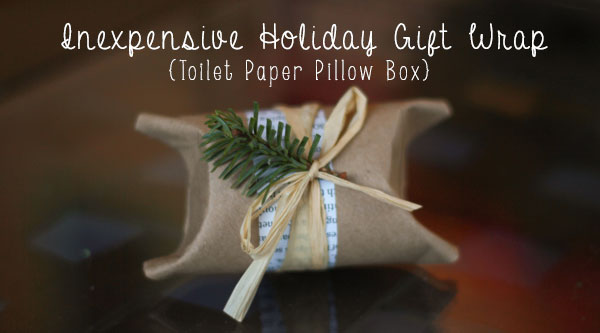
Inexpensive Holiday Gift Wrap (Toilet Paper Roll Pillow Box DIY)

Inexpensive Holiday Gift Wrap (aka Toilet Paper Roll Pillow Box DIY) from the creators of Fair Ivy's monthly boxes for women

….It’s time for an inexpensive holiday gift wrap post!

As you all know, cute gift packaging is one of my top favorite things.  Combine that with some creative gift wrapping, PLUS something that is eco-friendly AND inexpensive (free actually), and I’m yours.

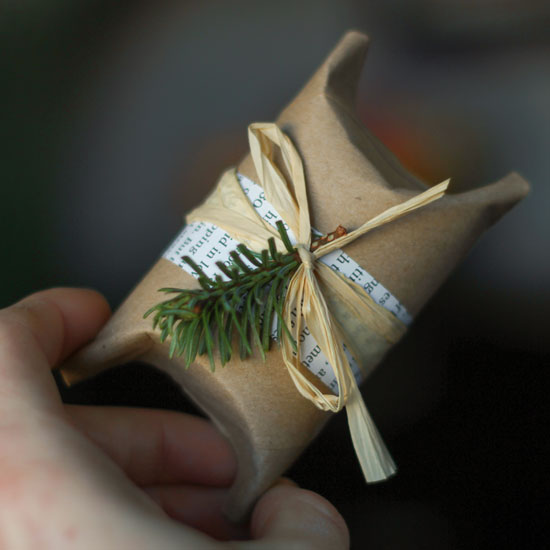
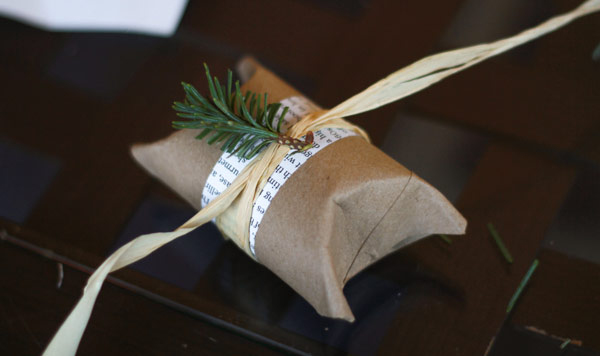
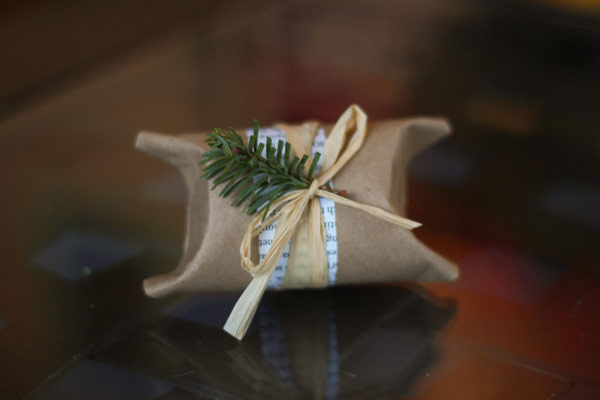
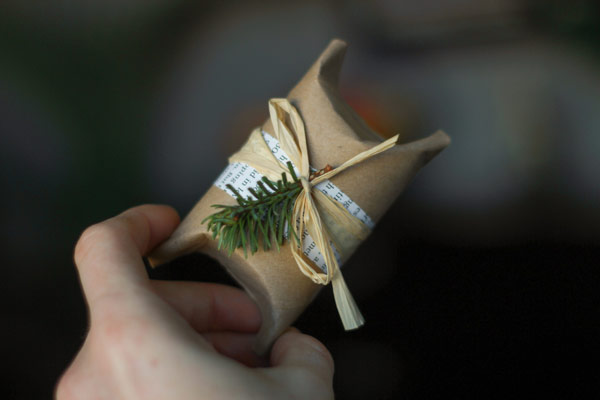
This blog post is going to teach you one way to create some inexpensive holiday gift wrap using ONLY things you already have around the house, and resulting in an adorable pillow box for wrapping little unique jewelry gifts.  Zero cost, and about 1 minute of effort.

DIY Inexpensive Holiday Gift Wrap

Materials:

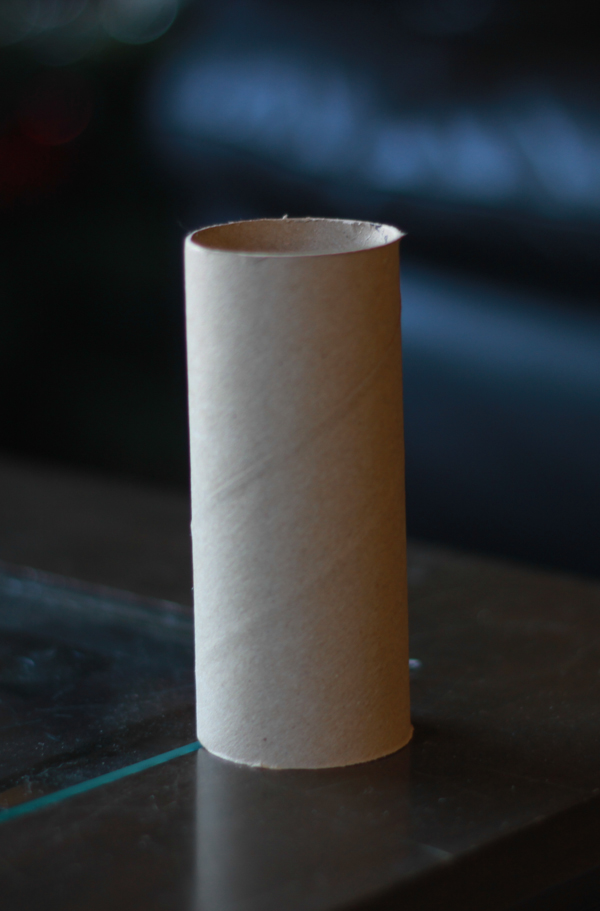
  • Toilet paper roll
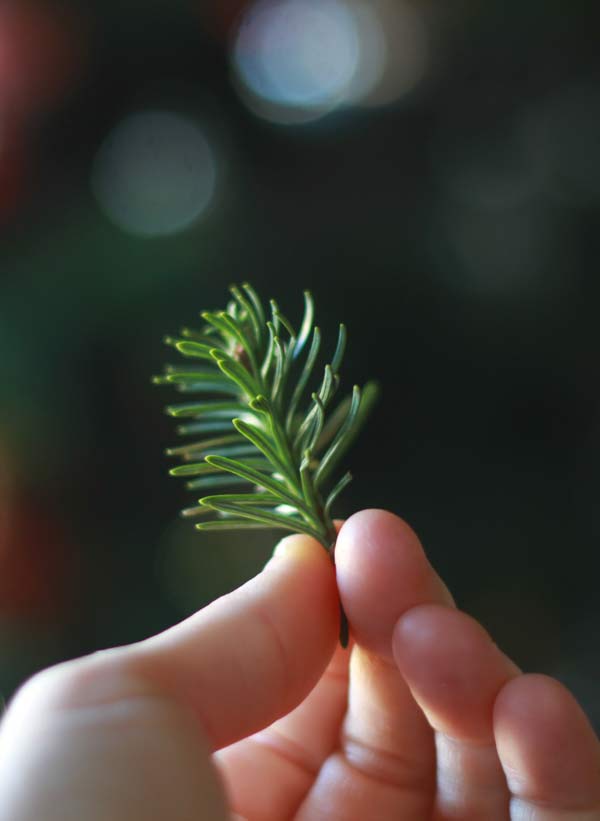
  • Twig of a Christmas tree
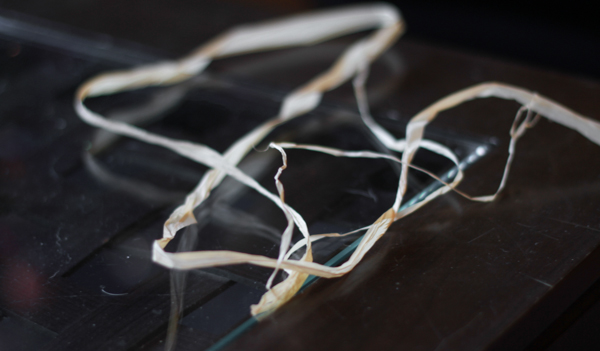
  • Raffia, twine, ribbon or yarn
  • Newspaper or magazine page

IMG_8167    IMG_8169

IMG_8171

IMG_8174

Toilet Paper Roll Pillow Box DIY:

1Fold one end of the toilet paper roll down towards the center.  Each flap should go a little past the middle of the roll, so that when you fold down the second side, there is no gap between them.
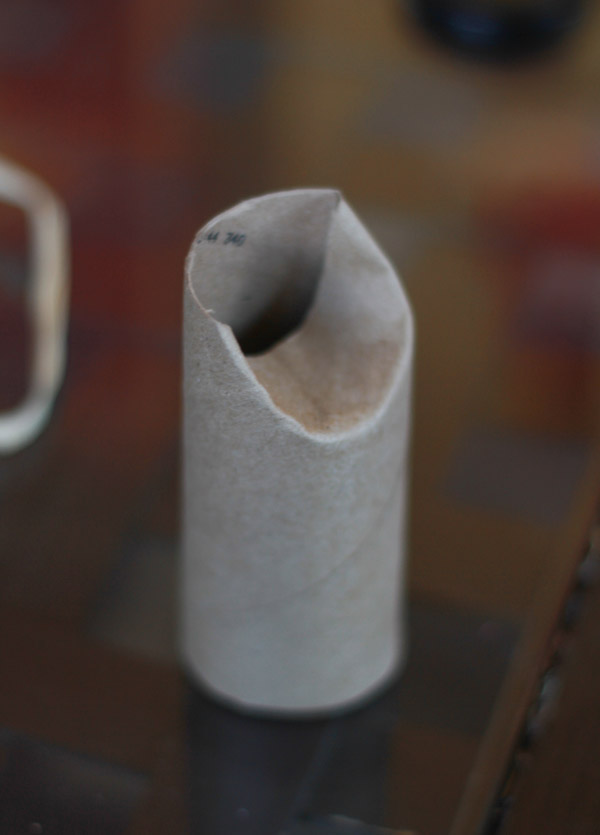
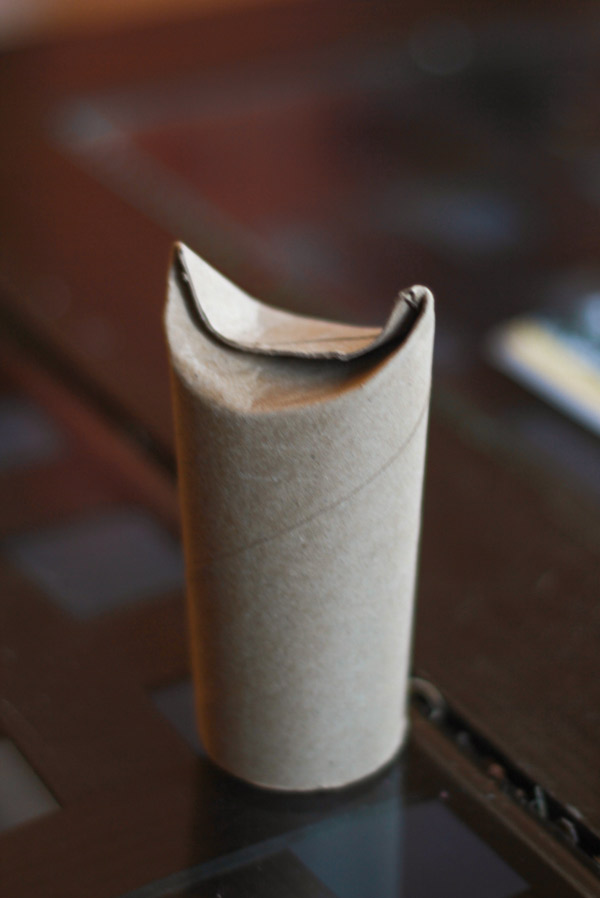
 

IMG_8178    IMG_8185

2Do this to both sides, so that you have essentially a pillow box.  Well, that was easy!
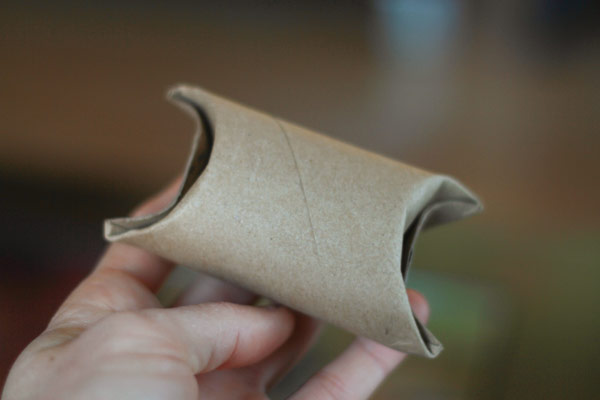
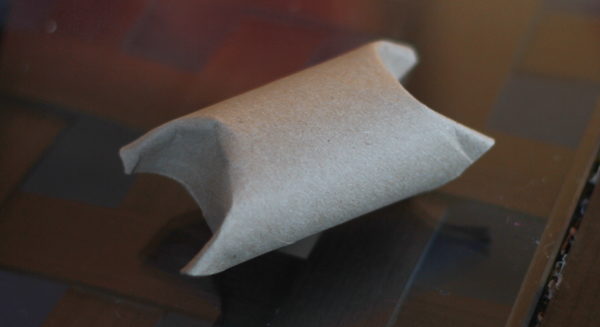
 

DIY Inexpensive Gift Wrap (aka Toilet Paper Roll Pillow Box)

IMG_8187

3

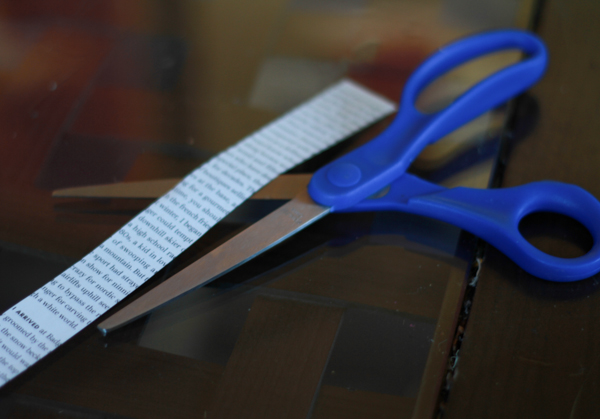
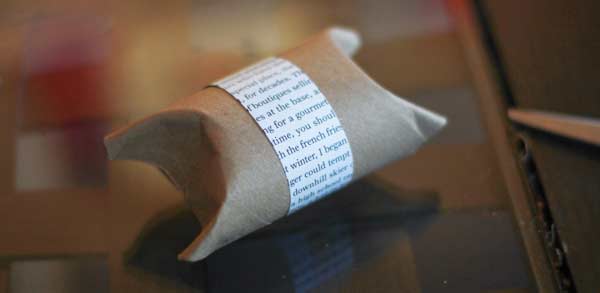
Next we want to spruce it up a bit with some embellishments!  Take a piece of newspaper or magazine paper and cut a thin strip, about 1″.  Then roll it around the toilet paper pillow box and tape the end (on the underside).


IMG_8190

IMG_8193

4

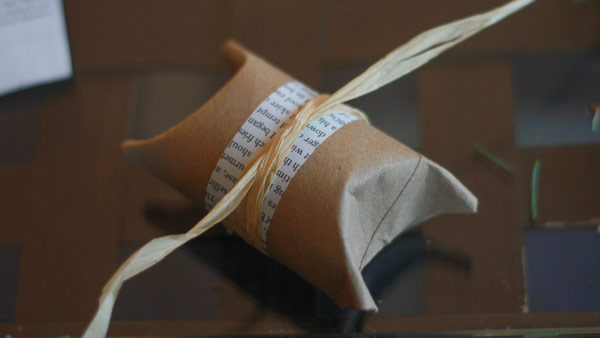
Grab some sort of ribbon material.  I really like the organic gift wrap style, so I suggest natural-colored raffia (pictured below), garden twine, or a natural-colored yarn.  If you want to be really organic and fancy, you can go outside and find some New Zealand flax (it’s everywhere), cut a leaf and let it dry for a couple days.  Tear it into strips and you’ve essentially got some free raffia.

IMG_8198

5

Find some sort of leaf to embellish the top with. Since it’s the holiday season, we found a perfectly good Christmas tree right in our living room. We cut off a tip and used the Christmas tree spring!  Other recommendations are rosemary, dried berries (see this post for ideas), or even some dried twigs or dried (dead) leaves.

IMG_8200

DIY Inexpensive Holiday Gift Wrap (aka Toilet Paper Roll Pillow Box)

DIY Inexpensive Holiday Gift Wrap (aka Toilet Paper Roll Pillow Box)

Voila: Your super fancy, organic toilet paper roll pillow box!  We love using this type of DIY inexpensive holiday gift wrap for all our smaller holiday presents (like unique jewelry gifts).  The organic vibe also goes along really well with the types of gift wrapping we feature in our monthly surprise gift boxes from Fair Ivy (click here to check out our subscription options!).

. . . . . . . . . . . . . . . . . . . . . . . . . . . . . .

Want more cute gift packaging ideas?  Click the button to see all our posts in that category:

Cute Gift Packaging

Organic Gift Wrapping and Mason Jar Terrariums: A Crafternoon

Crafternoon at Whole Foods: Upcycled Creative gift wrapping

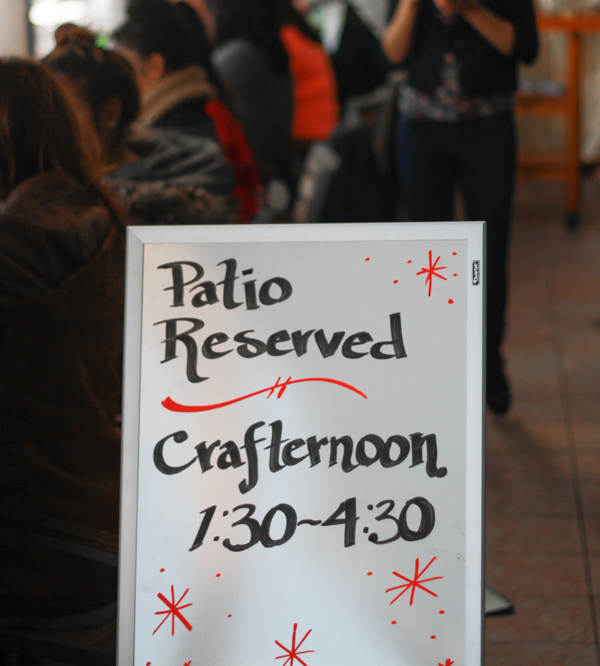
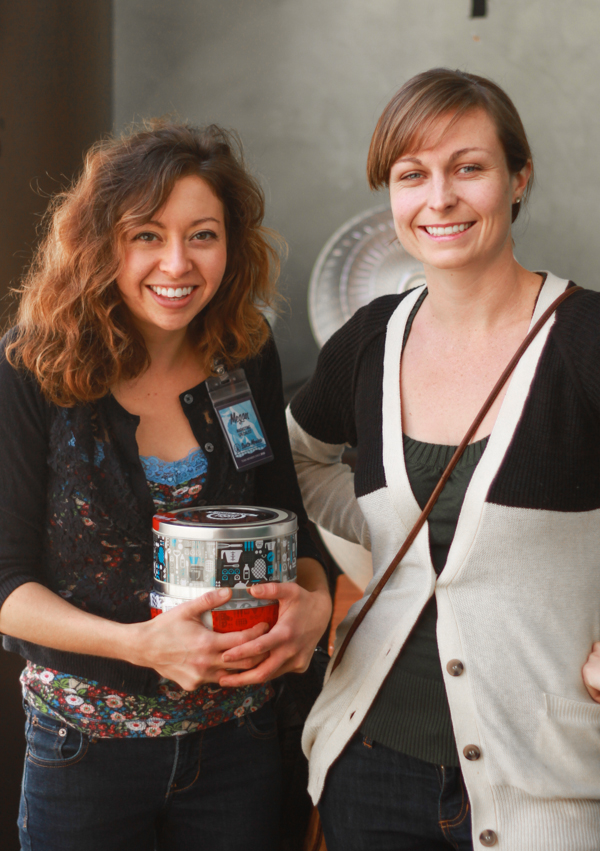
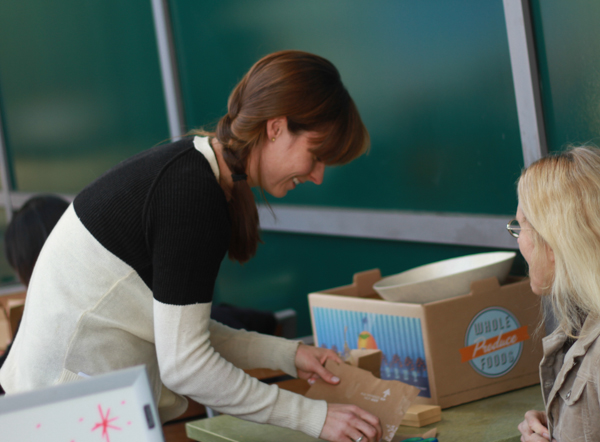
This past Saturday, I was invited to do a presentation at Whole Foods Santa Monica on upcycled organic gift wrapping.  Along with Megan (the Whole Foods Marketing Team Leader…and blogger of  The Dinner Party Association), we hosted Whole Foods’ first Crafternoon crafting event!

Whole Foods Crafternoon with Lucy and Megan  Whole Foods Crafternoon in Santa Monica


Mason Jar Terrariums with Megan:

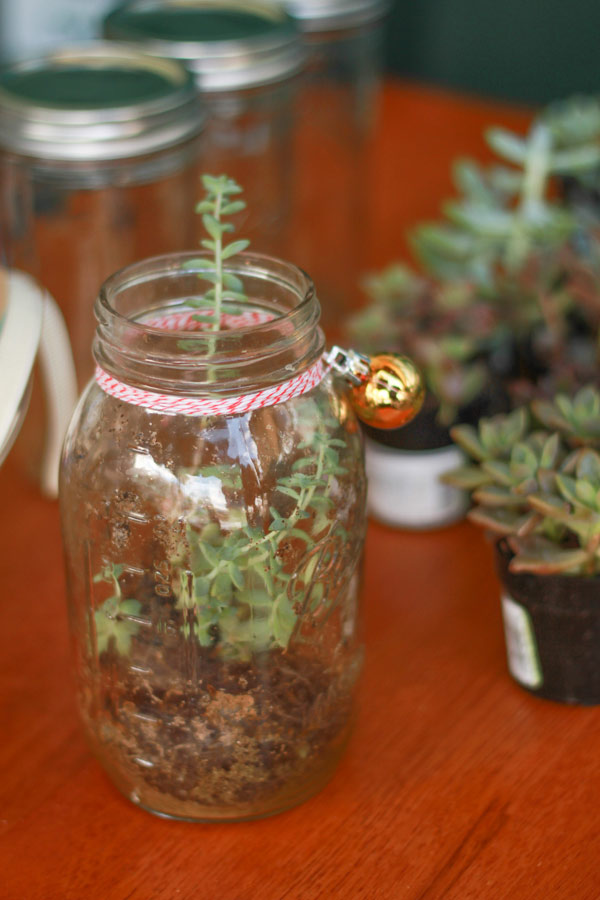
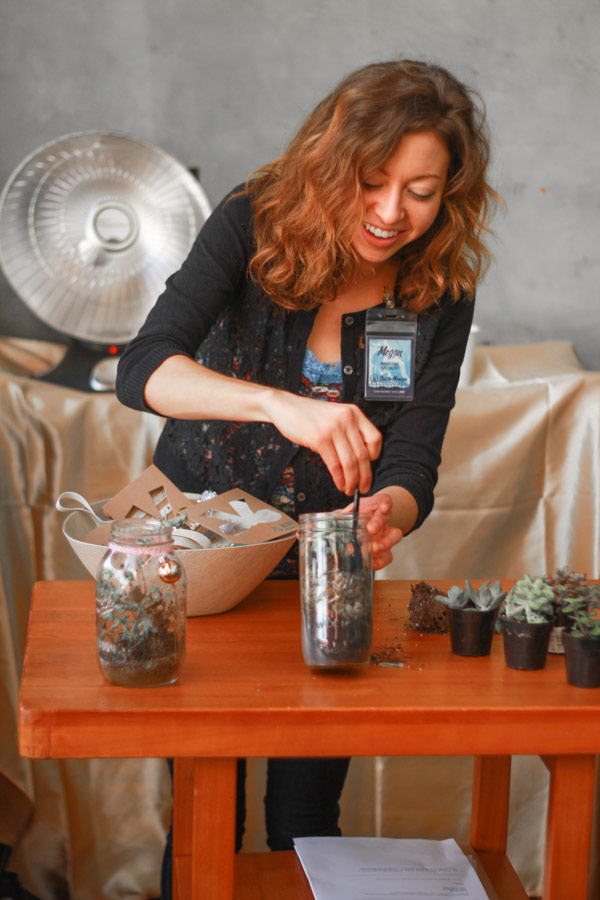
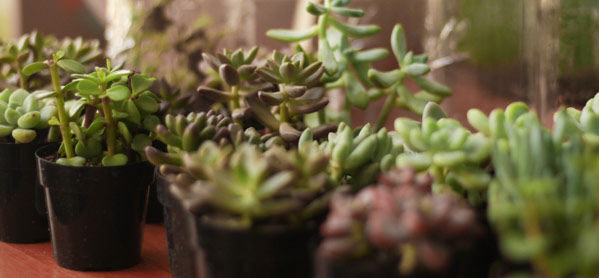
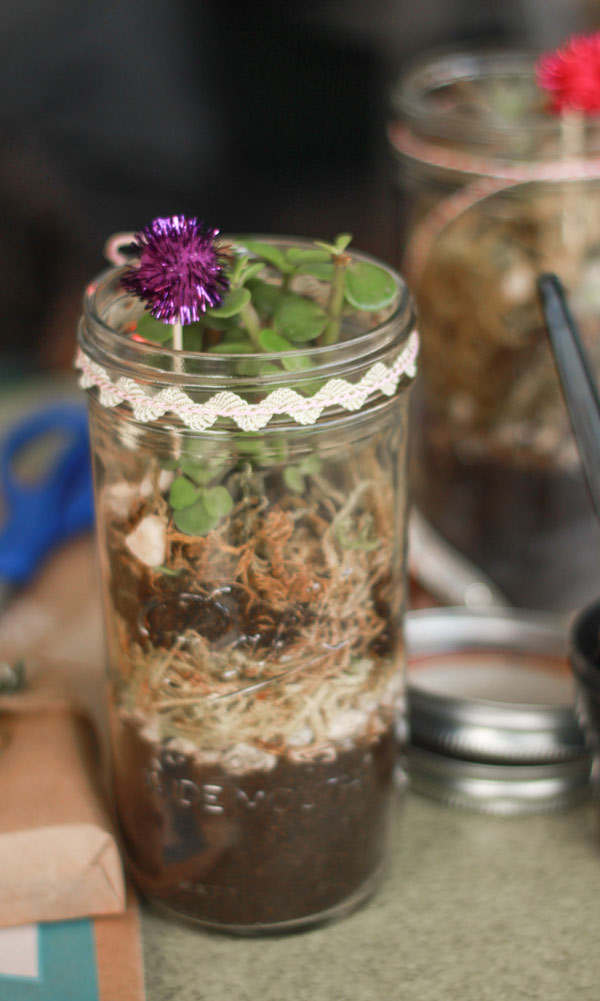
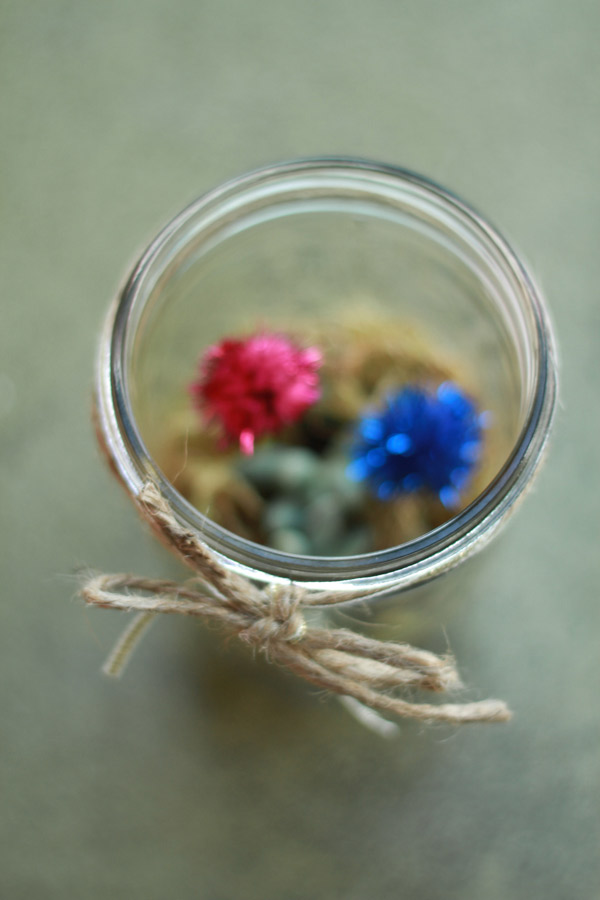
Megan did a wonderful presentation on how to make really creative & fun gifts using mason jars, a bit of soil and moss, and a succulent of your choice.  Then we got to decorate the mason jars with adorable little ribbons and holiday-themed embellishments.  The result was a fantastic mason jar terrarium that would make the perfect holiday gift!

Mason Jar Terrarium DIY at Whole Foods

Mason Jar Terrarium DIY from Megan at Whole Foods (Crafternoon)

Mason Jar Terrarium succulents - at Crafternoon!

Mason Jar Terrarium craft

Holiday mason jar terrarium with succulents    Holiday mason jar terrarium with succulents

It was an absolutely fantastic presentation, and I really enjoyed learning a new crafting skill!

Upcycled Organic Gift Wrapping with Lucy:

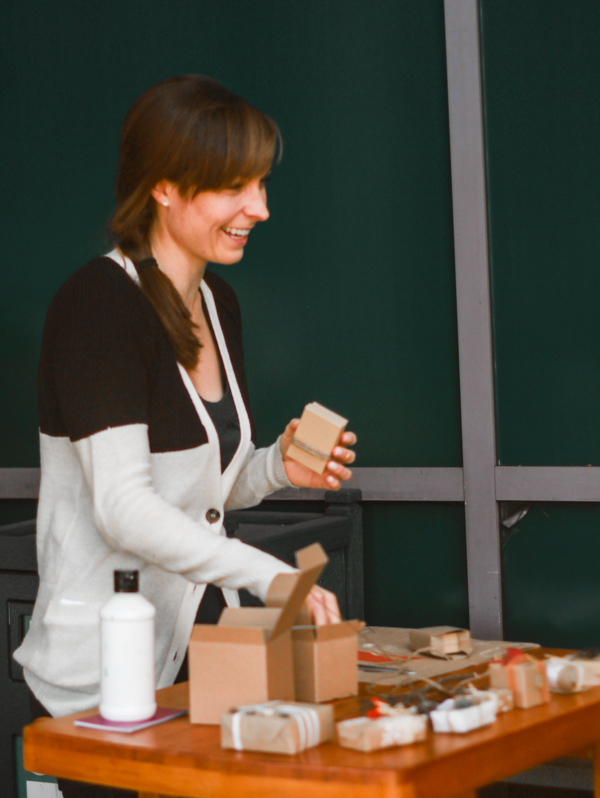
Next was my turn!  Whole Foods just asked that I do some sort of creative gift wrapping presentation, and left the details and theme up to me.  I settled on an upcycled materials theme that focussed on an organic gift wrapping style.  In case I haven’t made it obvious already, this is my utmost favorite style, and also the one I often encourage Fair Ivy‘s monthly featured surprise artists to use!

Fair Ivy surprise packages founder Lucy Fairweather at Whole Foods presenation

Whole foods bags as organic gift wrapping paper

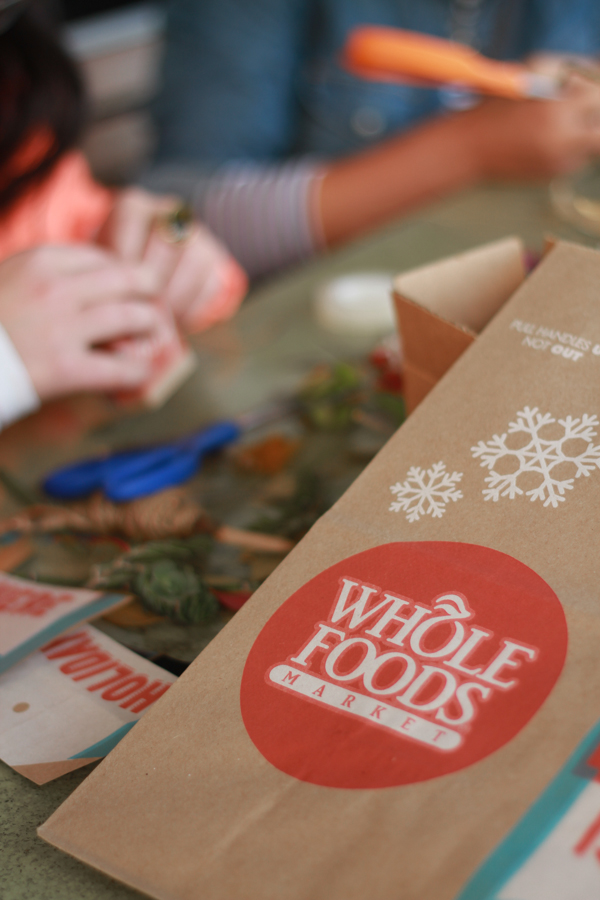
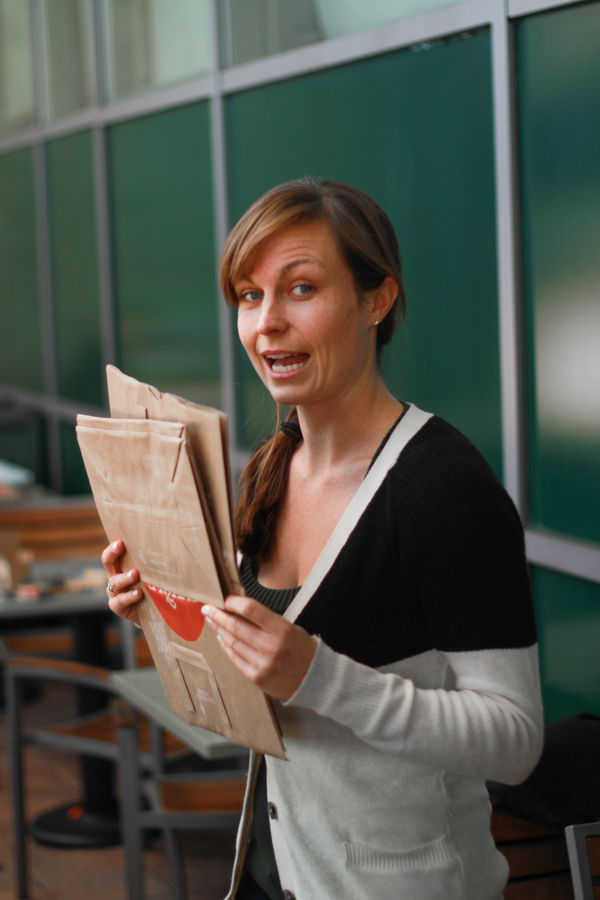
We started with Whole Foods brown bags, to upcycle into wrapping paper.  We simply cut them open and used the backside, which made for perfect kraft paper that kept with the whole organic gift wrapping vibe.

Organic gift wrapping using leaves and natural embellishments

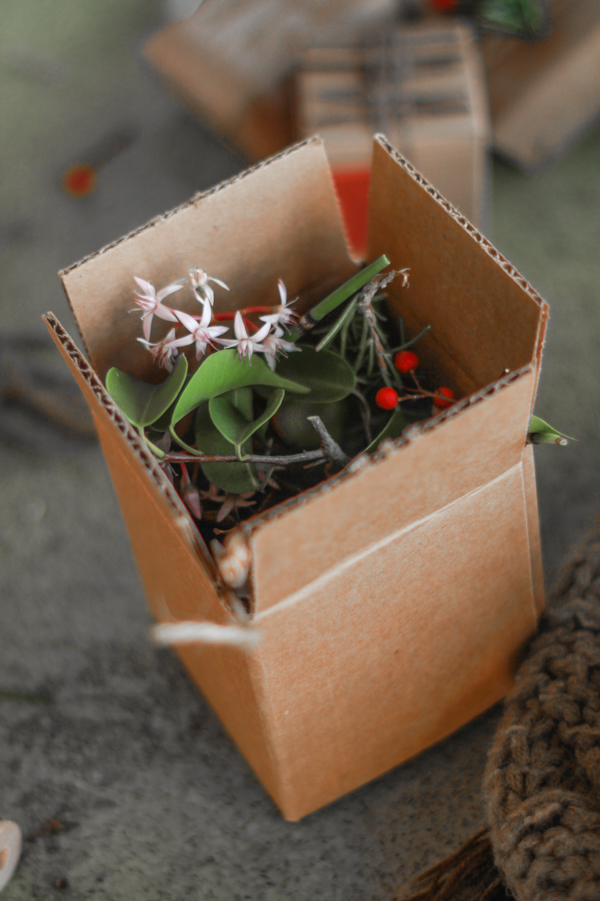
I put together little boxes full of natural embellishments—leaves, twigs, flowers, berries, and other non-wilting plants that were perfect for embellishments on organic gift wrapping packages. Each Crafternoon participant got their own little box of organic goodies, and were allowed to be as imaginative as they wanted.

Fair Ivy founder Lucy Fairweather presents on organic creative gift wrapping    Organic gift wrapping using leaves and natural embellishments

Organic gift wrap - A presentation from Fair Ivy surprise packages

Organic gift wrapping from Fair Ivy (which sends a surprise gift box every month)       Organic creative gift wrapping from Fair Ivy (the surprise subscription boxes company)

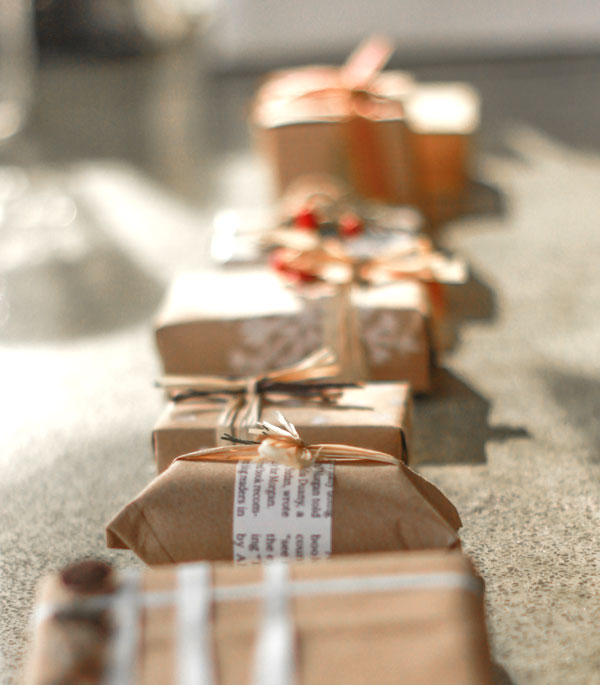
Above are a few of the sample packages I created, all using organic embellishments that I simply found in the garden or outside my house.  The idea was to focus on natural items that don’t need water to remain beautiful—so low-water-needing plants (like succulents, ficus trees, rosemary, Christmas trees), dried plants (like twigs, dead leaves, dried berries) and even little pebbles.  For ribbon we used twine, natural-colored yarn, or raffia (made from the raffia palm—how much more natural can you get?).

Fair Ivy founder Lucy Fairweather presents on organic creative gift wrapping

Organic creative gift wrapping from Fair Ivy

I brought a little bottle of white paint as well, which participants used to spice-up some of their kraft paper, with little dabs of their finger.

Organic creative gift wrapping from Fair Ivy

And look at how perfect the holiday paper bags from Whole Foods are for wrapping paper if you use the outside!  They even have snowflakes!  These dried red berries were also a perfect holiday wrapping paper touch.

Participants learn how to create organic gift wrapping in a DIY creative gift wrapping class from Fair Ivy  Organic creative gift wrapping from Fair Ivy founder Lucy Fairweather

Organic creative gift wrapping from Fair Ivy founder Lucy Fairweather

Thanks to those of you who joined us, and we hope to see many more of you at the next event.  Oh, and….

Happy Holidays!!

Ps. If you need any help or suggestions for upcycled creative gift wrapping ideas, just drop me a line 🙂

Etsy + Wholefoods presents: A Crafternoon (with me, Lucy!)

Etsy + Wholefoods presents: A Crafternoon with Fair Ivy founder Lucy Fairweather

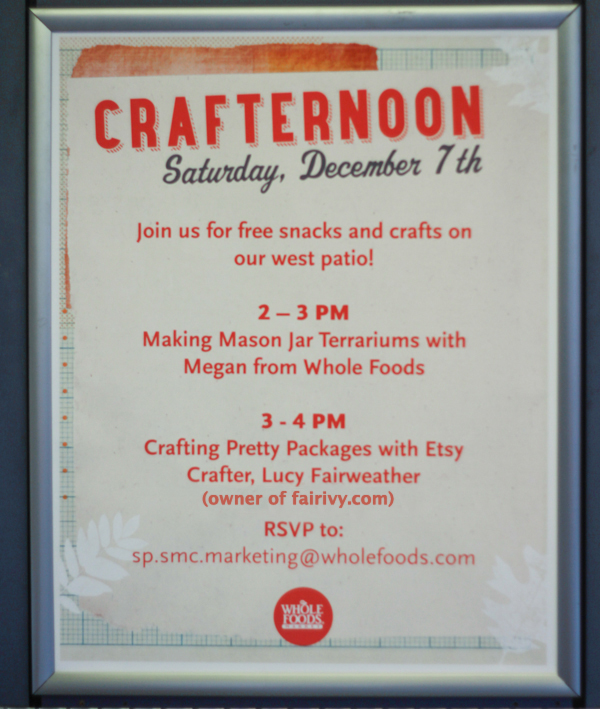
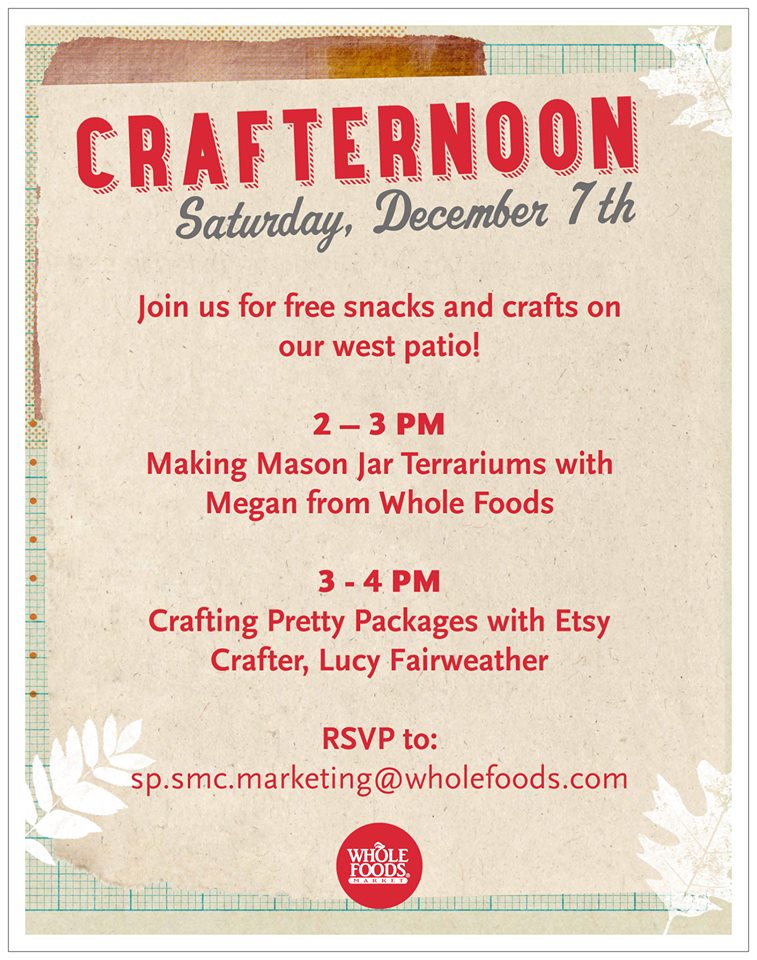
If you live in or around the Los Angeles area and want to come meet me or learn how to craft pretty packages, swing by the Whole Foods in Santa Monica (on Wilshire) for A Crafternoon this Saturday, December 7th between 3-4pm.  I’ll be trying out some different styles of cute gift packaging, including organic, feminine, and creative!

To RSVP to this event, visit EventBrite: Crafternoon.

lucy-wholefoods

Washi tape giveaway!
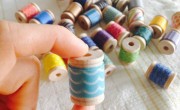
Remember that post I did last month on the awesome washi tape I purchased, that arrived all adorably and made me almost panic with excitement?

Washi Tape Giveaway - From Fair Ivy and StickerStop     Washi Tape Giveaway - From Fair Ivy and StickerStop     Washi Tape Giveaway - From Fair Ivy and StickerStop

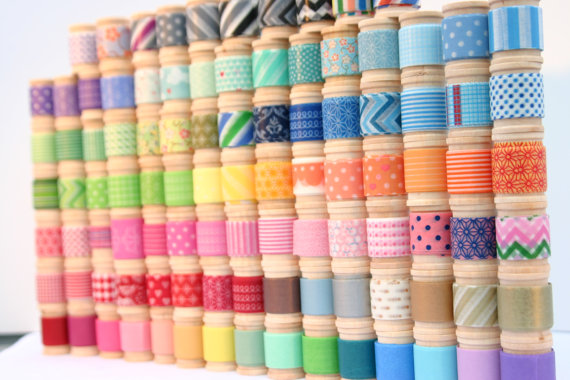
Well, now our lovely friends over at StickerStop are letting us host a Washi Tape Giveaway, and are offering Fair Ivy fans a chance to win an 8-yard set of washi tape….so you too can have your very own excitement panic-attack!  These wonderful boutique-style tapes are a great way to spruce up some simple gift packaging this holiday season.  Or you can just use them to decorate your house, or do all kinds of other crazy things (see this BuzzFeed article for some kooky ideas).
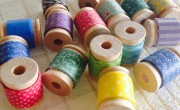
Look at all the choices of washi tape designs you’ll have if you win:

Washi Tape Giveaway - From Fair Ivy and StickerStop

Entering the washi tape giveaway

To enter, zip on over to StickerStop’s facebook fan page and “like” it, then comment below that you did!

There are two 8-yard sets to be won, so your chances are high!  Contest ends December 10th, winners will be announced here and on our facebook fanpage.

Good luck!

. . . . . . . . . . . . . . . . . . . . . . . . . . . . . . . . .

EDIT: Congratulations to the winners, Johanna and Bridget J.  Thanks to everyone who entered!