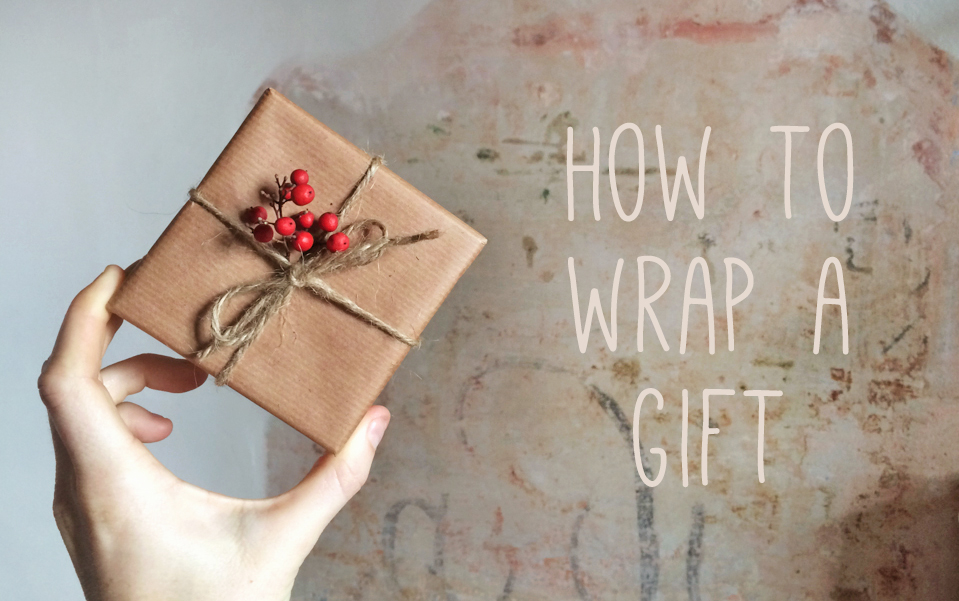
How to Wrap a Gift
It’s high time I did a simple tutorial on how to wrap a gift. Never waste another inch of gift wrap, and never again cry out “Why God, WHY?!” when all your efforts still end up looking like you pulled an old lunch bag out of a garbage can and wrote your best friend’s name on it.
So here goes.
How to wrap a gift
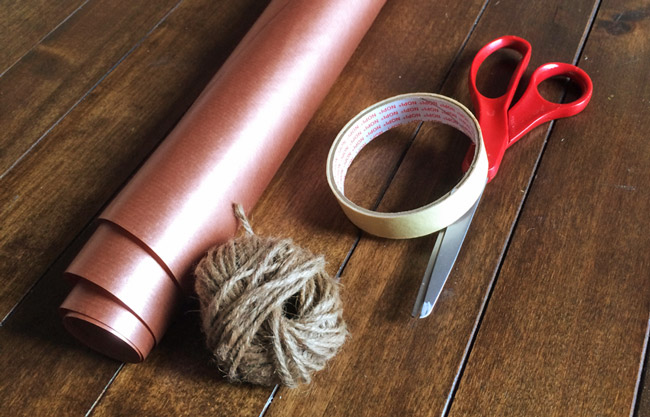
Ingredients:
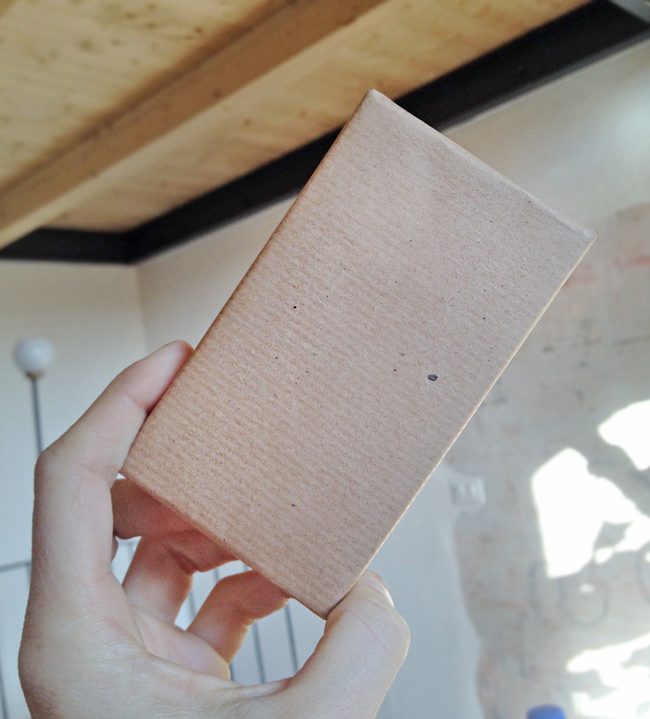
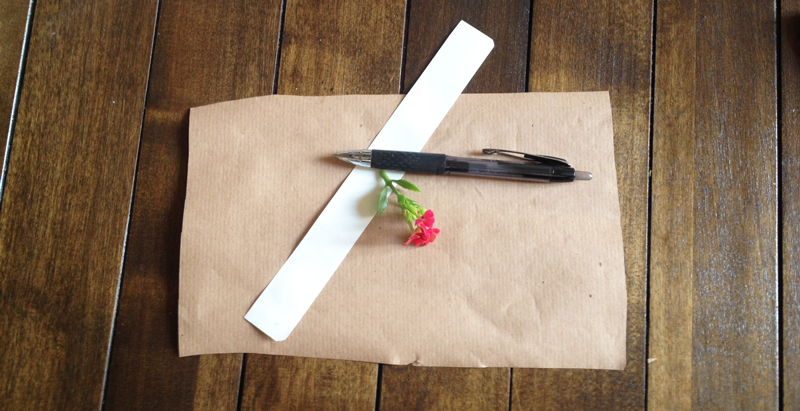
- wrapping paper
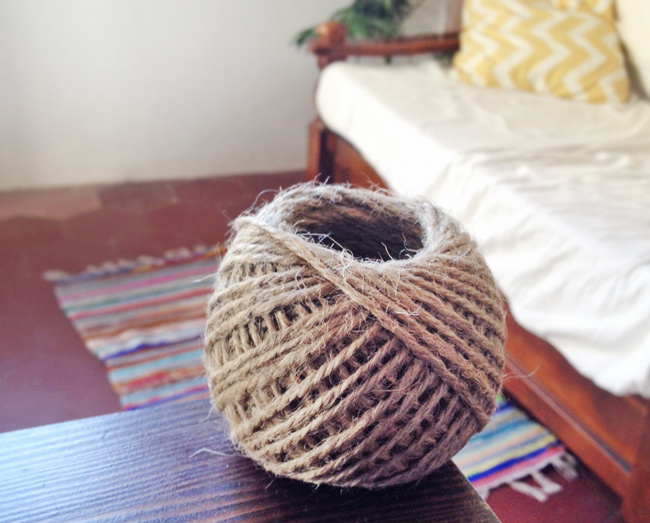
- ribbon
- scissors
- tape (or glue if you want to look extra fancy)
Step 1: Measure your gift wrap
This is actually pretty simple once you get it, but bear with me through the explanation. If my explanation doesn’t float your boat, you can try another version here (but there are fewer pictures).
Take your gift box or gift item, and put it in one corner of your wrapping paper.

Roll it along the bottom edge of the gift wrap, until you’ve rolled every side (e.g. if it’s a box, roll all four sides along.) Add about a centimeter, and draw a line—this is where your first cut will be.
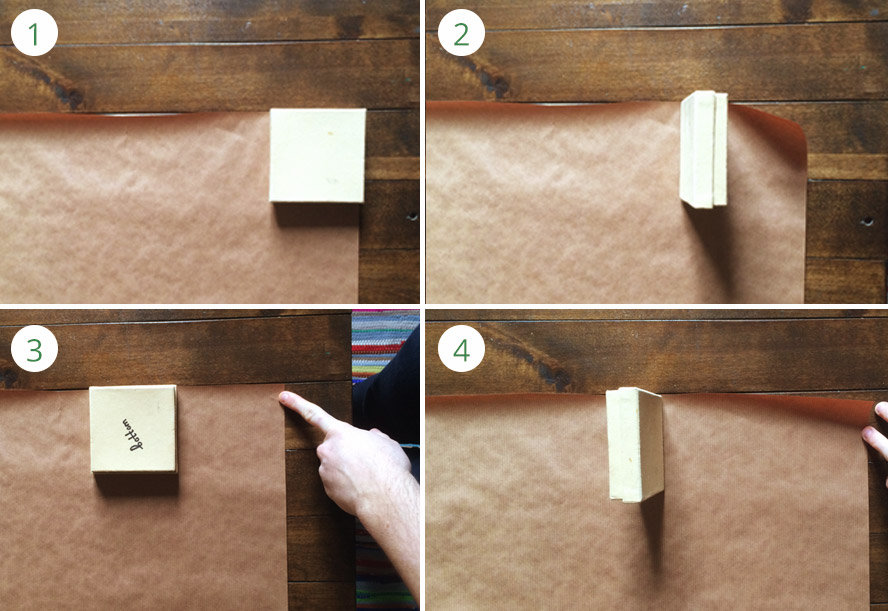

Pick up the box and put it face-up where you stopped, so the edge is at the line you drew. Roll it ONCE up the other direction of the paper. So only two of the sides have been rolled (or if it’s not a box, HALF of the gift).Add about a centimeter, draw a line—and this is your second cut.


That’s it. Cut the paper along the lines. It should be perfect.
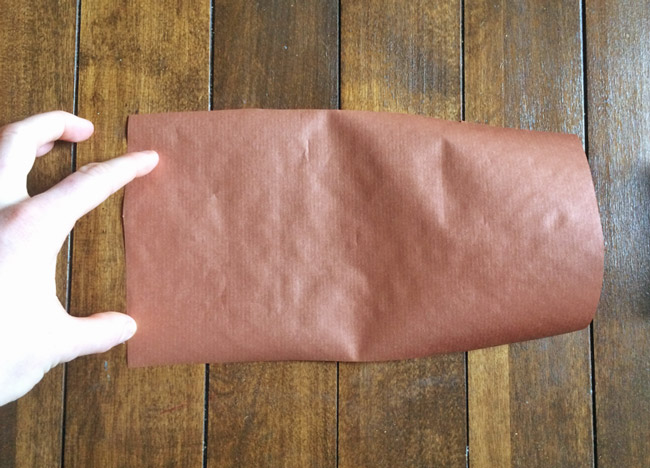
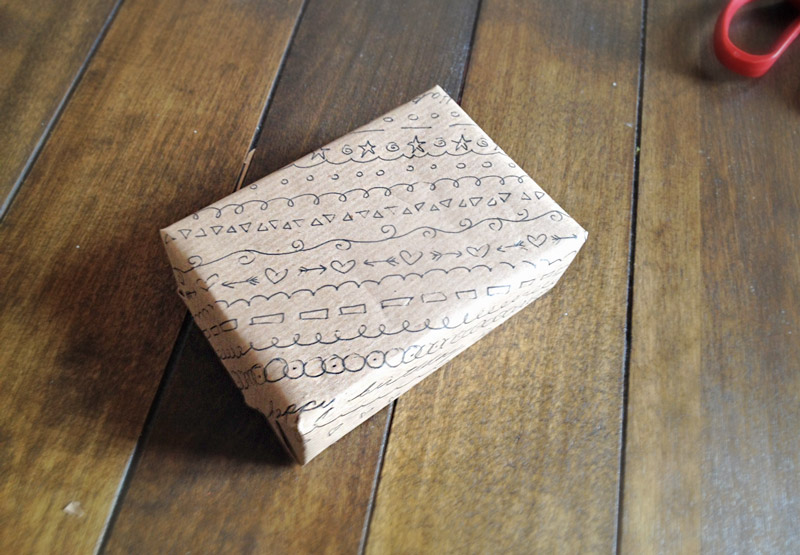
Step 2: Fold & tape
Put your gift upside-down in the center of your paper.

Take the longest sides and bring them together, so one overlaps the other. Make sure they meet in the middle of one of the sides. Tape here. If you’re fancy, dab a bit of glue under the top piece and hold it to the bottom piece until it dries. This way you’ll have no ugly tape.

Now we do the sides—the trickiest part of wrapping a gift. With the pieces that stick out over the end of your gift, you want to fold in the sides. IMPORTANT: Make sure you don’t push the box down through the paper—you need the same amount of space on the other side.

You should start with the side that has the overlapping pieces. Fold it flush onto the box.

The best way to make them stay put is to crease up the edges of the adjacent sides once you have folded the first one down. Next, fold down the two adjacent sides, and the final side down on top.

Tape or glue it down, and do the same on the opposite side. I did one side tape and one with glue so you can see how it can make a difference to the look.
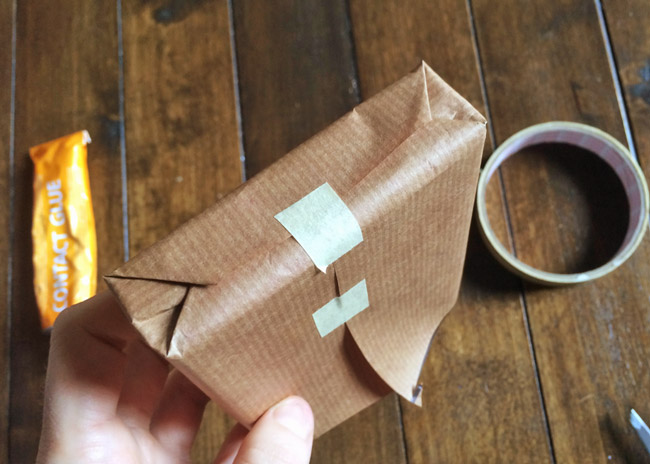

Congrats—the hard part of wrapping a gift is done!
Step 3: Ribbon
To cut the ribbon to the right length—it should be the circumference of the box one way + the circumference the other way, plus 4-6 inches for the bow part (bigger if your box is quite big). So if you put your box at the end of the ribbon, and roll it along it until all four sides have touched—then turn the box the other way and roll it the other way, then add 4-6 inches. OR you can always just cut it super long and then trim at the end.
Find the middle of your ribbon. Put the box onto your ribbon in the center, with the overlap-side (the bottom) facing up.

Pull the ribbon up the sides of the box (doesn’t matter which sides), until they meet at the top.

Twist them around each other.

Flip the box over. Pull the ribbon up the other two sides until they meet at the top of your box.

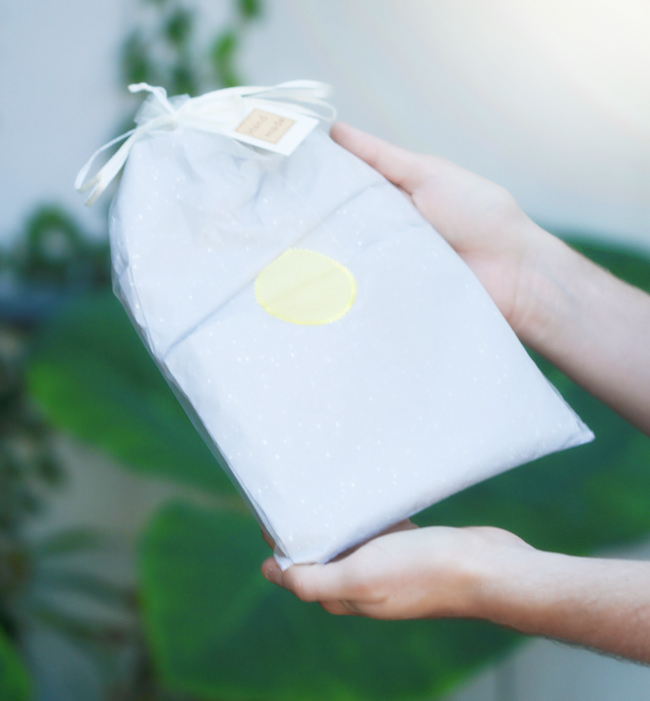
Tie a bow—like you’d tie your shoelaces.
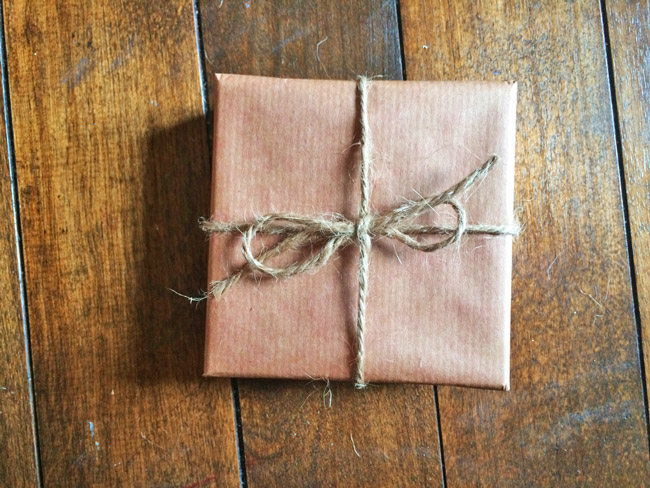
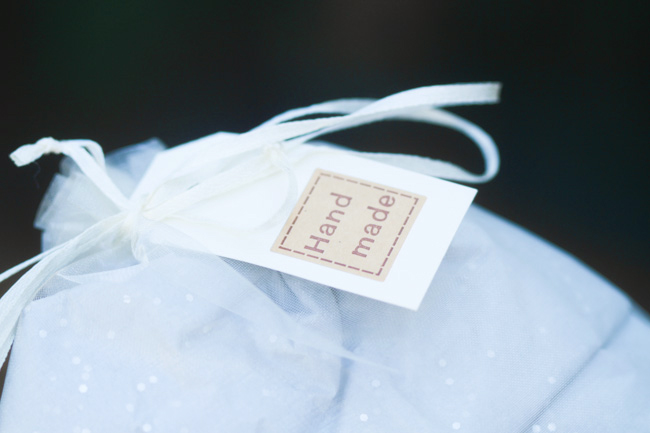
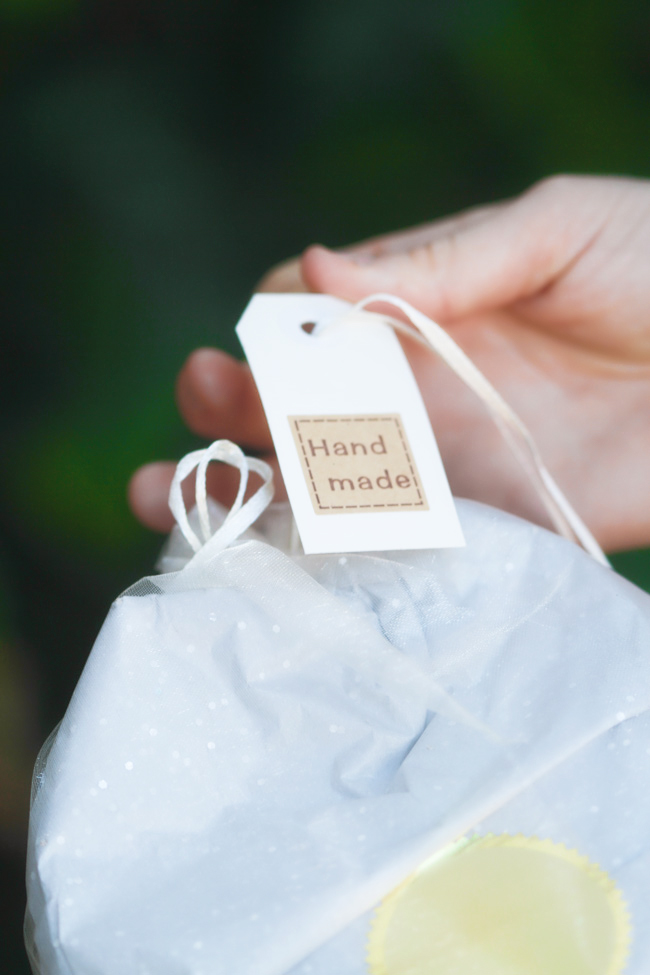
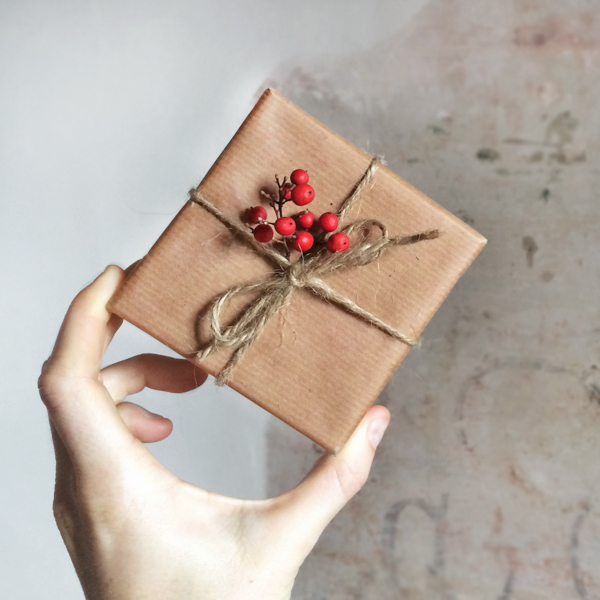
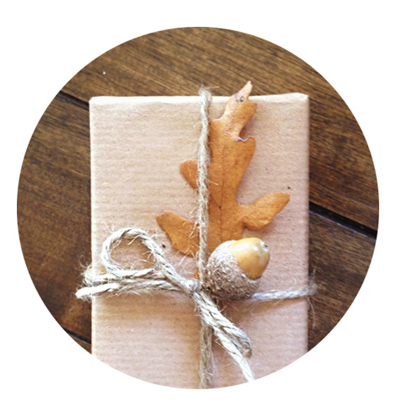
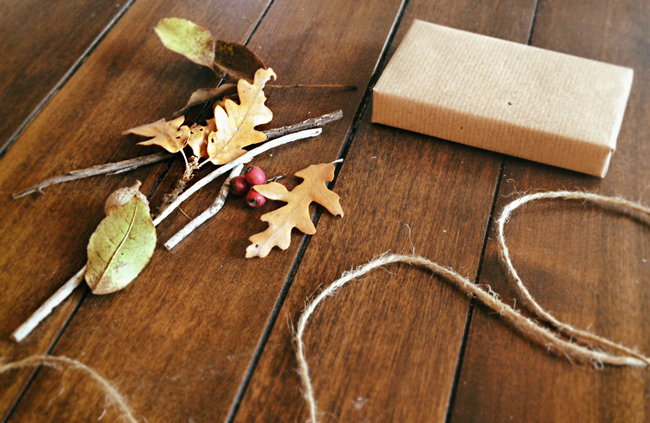
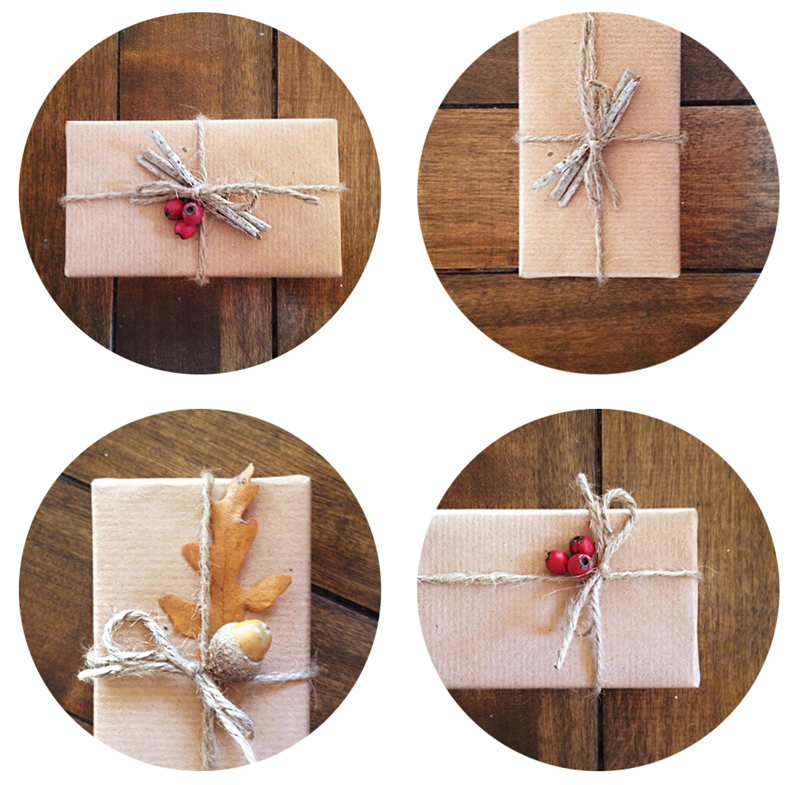
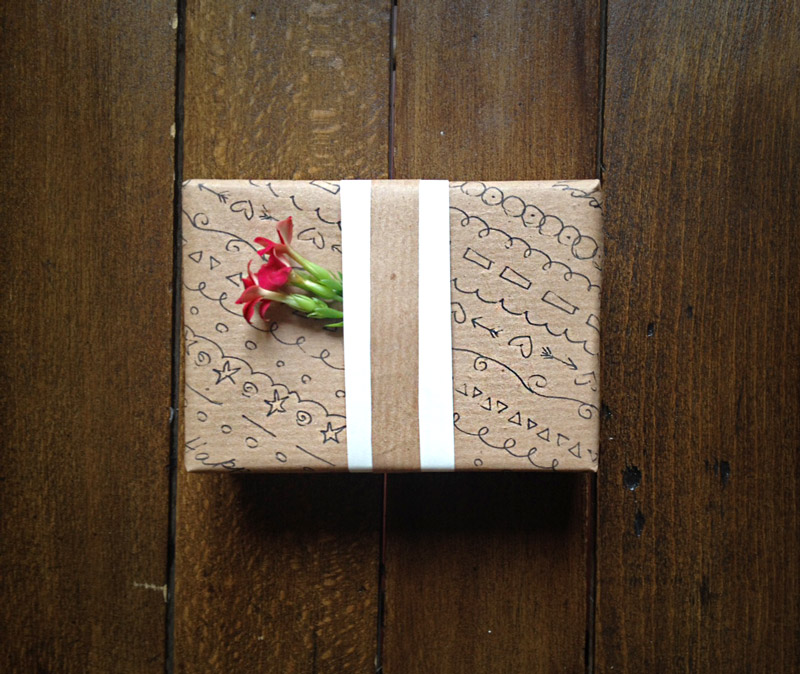
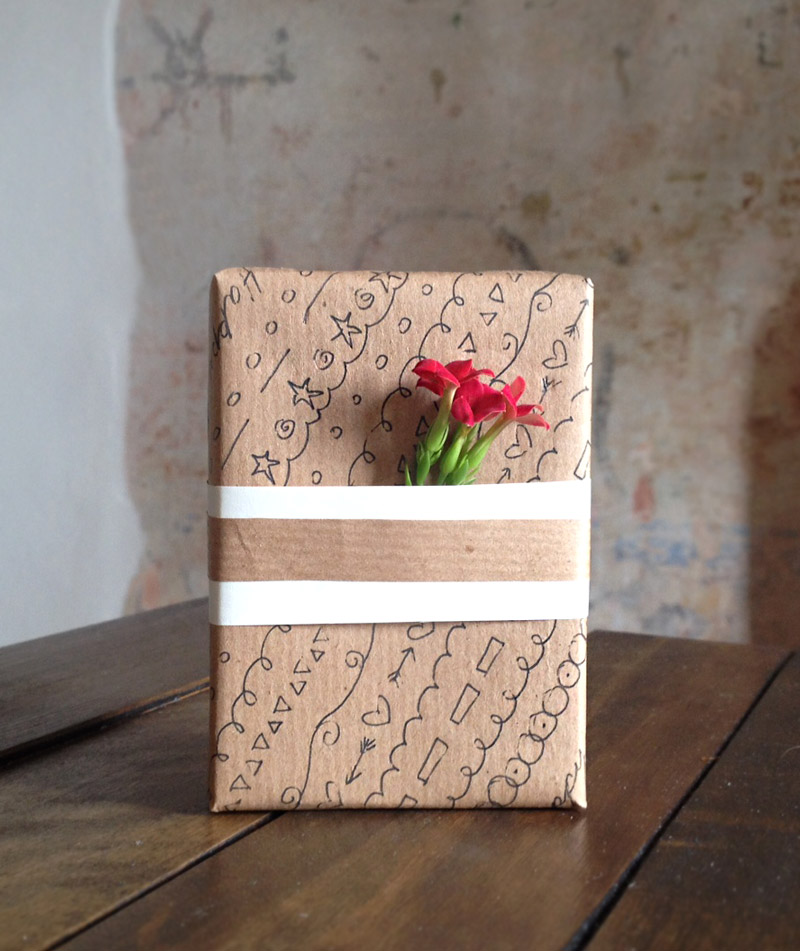
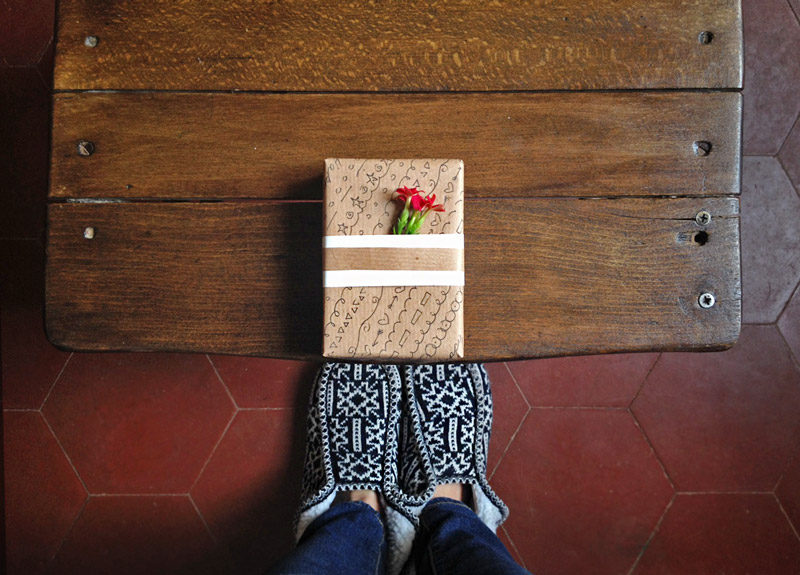
Step 4 (Optional): Embellish!
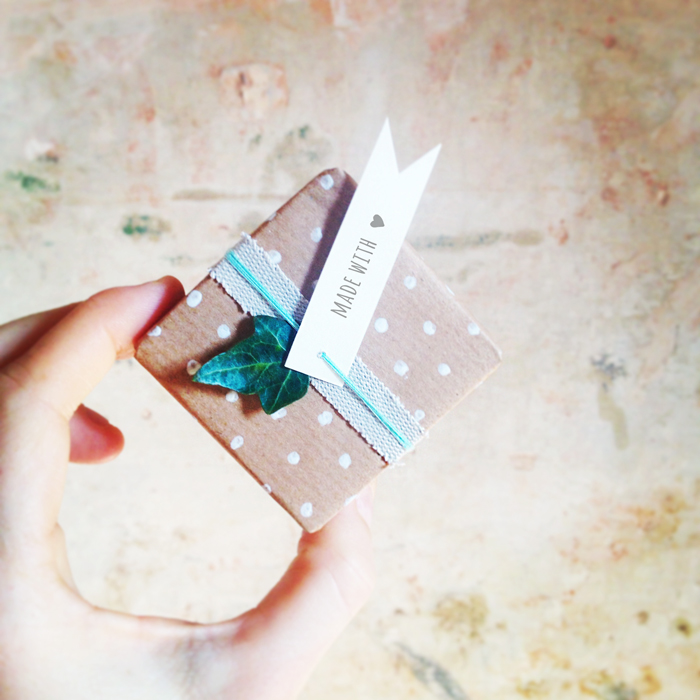
I like to add a little twig, or leaf, or something to make it a little extra fancy. I got these berries from outside—they are plentiful in winter, which sorta makes this also a tutorial for how to wrap a christmas gift.

Check out some of my other posts on embellishments: Recycled Gift Wrap DIY and Natural Gift Wrapping DIY .
…and that’s it! I hope this helped with your christmas gift wrapping, or gift wrapping for any occasion!


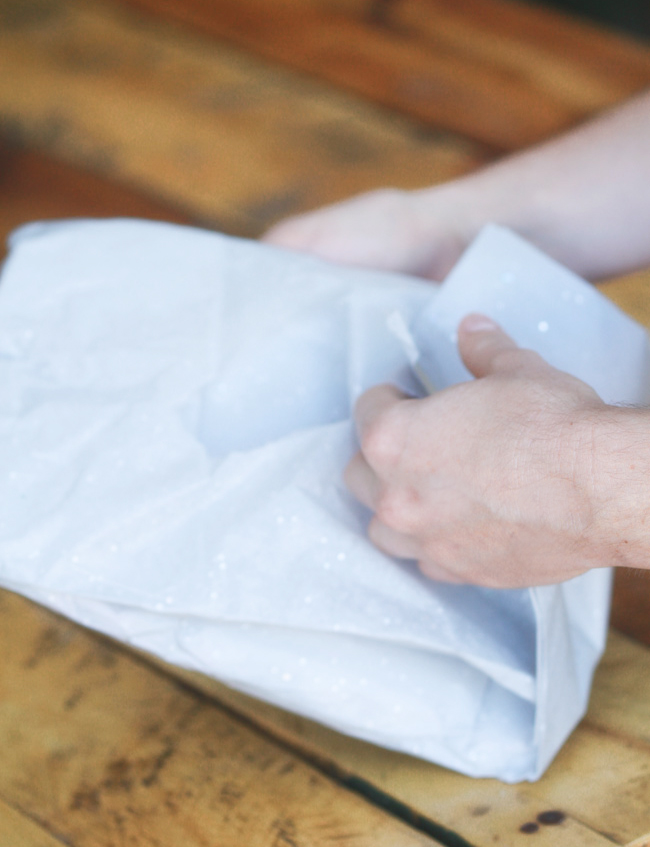
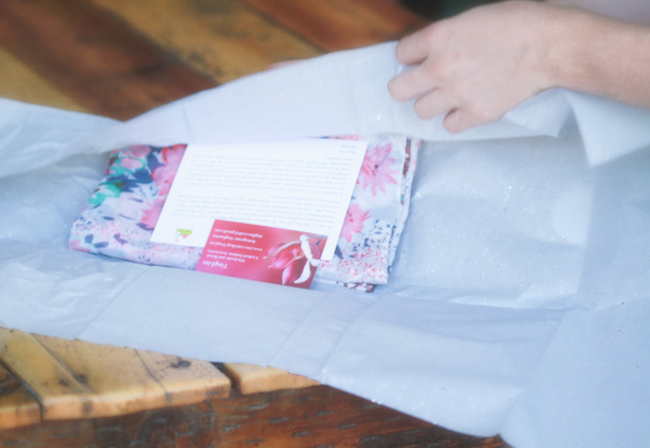
 Been looking for a vegan monthly subscription box? Well you’re in luck….Fair Ivy is now a vegan-friendly subscription box!